There is something deeply satisfying about taking a simple lump of clay and turning it into something you can actually use. A mug, bowl, vase, or small sculpture starts with your hands, your ideas, and a material that is surprisingly forgiving.
If you have ever wanted to try pottery but felt unsure where to begin, pottery classes can give you the structure and guidance you need. You do not have to be an experienced artist, and you do not need your own pottery wheel or kiln. Many beginner classes provide the clay, tools, equipment, instruction, and firing needed to complete your first pieces.
Whether you want a relaxing creative hobby, hope to develop serious ceramic skills, or simply want to make something with your own hands, learning pottery can be an enjoyable way to explore your creativity.
Pottery classes are practical lessons where you learn how to shape, decorate, dry, glaze, and fire clay. Depending on the studio and course level, you may learn traditional hand-building methods, pottery wheel throwing, glazing, or a combination of techniques.
A beginner course commonly introduces you to:
Preparing and handling clay
Wedging clay
Pinch pottery
Coil building
Slab building
Wheel throwing
Trimming
Surface decoration
Glazing
Ceramic firing
Many studios specifically design their introductory pottery classes for people with no previous experience. For example, beginner programs can combine hand-building with wheel throwing and provide step-by-step instruction throughout the process.
Absolutely. You can start pottery without knowing how to use a wheel or having any previous artistic training.
Your first class may feel unfamiliar at first, particularly when you are learning to control wet clay. That is normal. Pottery is a practical skill, so you improve by practicing rather than simply reading about the techniques.
If you are completely new, look for a class described as:
Beginner pottery classes
Introduction to pottery
Beginner wheel throwing
Hand-building pottery
Ceramic workshops for beginners
A good instructor should demonstrate the technique and then give you an opportunity to practice it yourself.
Not every pottery class teaches the same thing. Choosing the right format depends on what you want to create and how much time you want to invest.
| Type of Class | Best For | What You May Learn |
|---|---|---|
| Beginner pottery class | First-time students | Basic clay techniques |
| Wheel throwing class | People interested in the wheel | Centering, throwing, trimming |
| Hand-building class | Creative beginners | Pinch, coil, and slab methods |
| Pottery workshop | A short introduction | One or several specific projects |
| Private pottery lesson | Personalized learning | Individual techniques |
| Advanced pottery class | Experienced potters | Complex forms and decoration |
| Glazing class | Surface decoration | Glaze application and techniques |
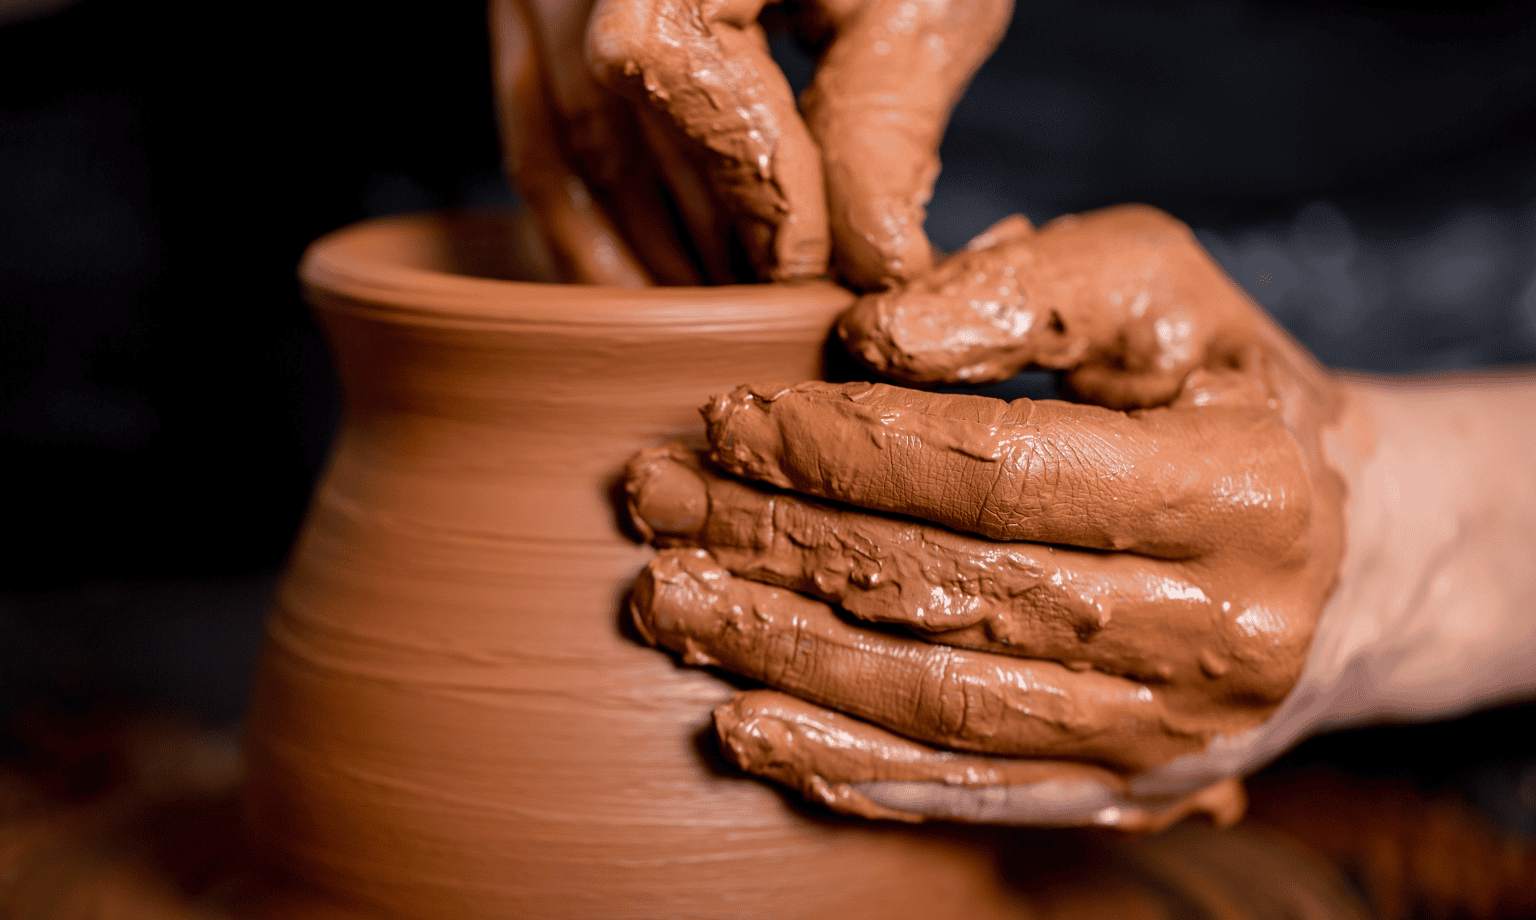
Wheel throwing is probably the technique most people imagine when they hear the word pottery. You place a lump of clay on a rotating wheel and gradually transform it into a vessel.
Your first wheel lesson usually focuses on a few fundamental movements:
Center the clay.
Open the center.
Pull the walls upward.
Shape the vessel.
Compress and refine the rim.
Allow the piece to become firm enough for trimming.
Centering is one of the first major challenges for beginners. Ceramic Arts Network notes that learning to center and control clay is a common source of frustration, and that consistent practice is an important part of developing wheel-throwing skills.
Do not expect your first bowl to look perfect. Your goal initially is to understand how the clay responds to your hands.
You do not need a pottery wheel to make beautiful pottery.
Hand-building allows you to construct pieces directly with your hands and simple tools. The three techniques you will encounter most often are:
Pinch pottery: You shape the clay by pressing and pinching it with your fingers.
Coil building: You create long coils of clay and build them into a vessel.
Slab building: You roll clay into flat sheets and assemble them into shapes.
Hand-building can be particularly appealing if you enjoy sculptural or unusual forms. Some studios specifically teach pinching, coiling, slab construction, and surface decoration in beginner classes.
One of the best parts of learning pottery is that you can turn practice into objects you can actually keep.
Depending on your class, you might make:
Ceramic mugs
Bowls
Plates
Vases
Plant pots
Candle holders
Serving dishes
Decorative sculptures
Jewelry holders
Small trays
Your first project is usually relatively simple. As your skills improve, you can experiment with larger forms, handles, lids, textures, and more complicated designs.
Some workshops even allow you to create several pieces during one session, while longer courses give you more time to develop your technique.
Your finished piece does not come directly out of the class ready to use. Pottery goes through several stages:
Clay → Shaping → Drying → Bisque Firing → Glazing → Final Firing → Finished Pottery
Drying is particularly important. A freshly made piece contains moisture and must become sufficiently dry before firing. Depending on the studio, the complete process can take several weeks.
For example, some studios tell students to expect around two to six weeks before finished work is ready for collection, depending on their firing and glazing schedule.
Before you begin shaping clay, you may need to wedge it. Wedging is a kneading process that prepares the clay for working.
It can help create a more consistent mass of clay and prepare it for centering on the wheel. Ceramic Arts Network describes wedging as an important first step toward effective centering and wheel throwing.
Hand-building is a great place to start because you can focus on understanding the material without having to control a spinning wheel.
You can begin with:
Pinch pots
Coiled vessels
Slab-built plates
Small sculptures
Textured decorative pieces
Once you start wheel throwing, you will quickly discover that small changes in hand pressure can dramatically change the shape of your pot.
You will gradually learn to control:
Speed
Pressure
Moisture
Wall thickness
Shape
Height
Rim formation
Centering deserves particular attention. Once you become comfortable with it, opening and pulling the clay becomes much easier to understand.
Glazing is where you can add another layer of personality to your pottery.
Depending on the studio, you may work with:
Ceramic glazes
Underglazes
Slips
Carving
Stamping
Texturing
Painted decoration
Remember that glaze color can change significantly after firing. Your instructor can explain which combinations are appropriate for the clay and firing temperature used in the studio.
Walking into a pottery studio for the first time can feel intimidating, especially when everyone around you seems to know what they are doing. In reality, beginner classes are designed around the fact that you are learning.
Wear comfortable clothing that you do not mind getting dirty.
You may also want to:
Keep your fingernails relatively short.
Wear comfortable shoes.
Bring water if recommended by the studio.
Check whether you need to bring an apron.
Ask what materials are included.
You usually do not need to purchase a complete pottery tool kit before your first lesson.
Your instructor may begin with a demonstration before allowing you to practice.
A typical beginner experience could look like this:
Introduction to the studio and equipment.
Demonstration by the instructor.
Clay preparation.
Hands-on practice.
Creation of your first piece.
Basic decoration or glazing instructions.
Studio cleanup.
Some studios include equipment, clay, tools, glaze, and firing in their class price, while others charge separately. Always check the details before booking.
Your work normally stays at the studio.
It may need to:
Dry slowly.
Receive its first firing.
Be glazed.
Receive a final firing.
Be inspected before collection.
This is why pottery teaches patience as much as technique.
There is no single price for pottery classes. Cost depends heavily on location, class duration, equipment, materials, firing, and whether you choose a group or private lesson.
Current studio examples show just how much prices can vary. Pot Pot Studio in Toronto lists a single hand-building class at CA$80 and a four-week wheel course at CA$290, while other studios charge different amounts depending on their format and inclusions.
| Cost Factor | What to Check |
|---|---|
| Class length | One-time workshop or multi-week course |
| Clay | Included or charged separately |
| Tools | Studio equipment or personal tools |
| Glazing | Included or additional |
| Firing | Included or charged by piece/weight |
| Instructor | Group or private instruction |
| Studio access | Included practice time or not |
Rather than choosing the cheapest class, compare what you actually receive for the price.
A slightly more expensive class may include materials, firing, experienced instruction, and additional studio time.
The good news is that you usually do not need to buy expensive equipment before attending your first pottery class.
A professional studio may provide:
Clay
Pottery wheels
Kilns
Ribs
Sponges
Cutting wires
Trimming tools
Modeling tools
Glazes
Work surfaces
Once you have attended several classes, you may decide to buy your own basic tools.
No. If you are just starting, joining a studio is usually much more practical than purchasing a wheel and kiln immediately.
You can first determine whether you enjoy wheel throwing before investing in equipment.
Clay gives you a physical way to experiment. You can change the shape, texture, proportions, and decoration as you work.
Unlike some creative activities where you begin with a blank screen, pottery gives you a material that responds directly to your hands.
Working slowly with clay can give you a break from screens and everyday routines. You have to pay attention to pressure, moisture, movement, and shape.
The process encourages you to focus on what you are doing rather than rushing toward the finished result.
Instead of simply buying another object, you can learn to make your own.
Imagine drinking coffee from a mug you shaped yourself or placing flowers in a vase you created from raw clay. Even imperfections can become part of what makes the piece special.
Group pottery classes can also introduce you to people who share an interest in crafts and handmade objects.
Studios may offer everything from one-time workshops to four- and eight-week courses, giving you options depending on how deeply you want to explore pottery.
Before you book, think about what you actually want from the experience.
If you have never touched clay, choose a genuine beginner course.
If you already know the basics, look for intermediate or advanced lessons that focus on the skills you want to improve.
A smaller class can mean more individual attention from the instructor.
This can be especially useful when you are learning wheel throwing because small corrections in hand position or pressure can make a major difference.
Do not assume that the advertised price covers everything.
Ask:
Is clay included?
Are tools included?
Is glazing included?
Is firing included?
How much finished work can you take home?
How long will the pieces take to finish?
Is studio practice included?
Before choosing a studio, look at photographs of finished pieces and read recent reviews.
You want to find a place where:
Instructions are clear.
Beginners feel welcome.
Equipment is well maintained.
Studio policies are easy to understand.
Students receive useful guidance.
Both options can work, but they offer very different experiences.
| Feature | Pottery Classes | Learning at Home |
|---|---|---|
| Instructor guidance | Yes | Usually no |
| Wheel access | Usually included | You need equipment |
| Kiln access | Usually available | You need firing access |
| Social experience | High | Limited |
| Initial investment | Lower | Potentially high |
| Feedback | Immediate | Self-guided |
| Flexibility | Scheduled | Very flexible |
If you are a complete beginner, classes can be the easier starting point because you can learn from an instructor and use professional equipment without building your own studio.
Your first pieces may wobble, crack, collapse, or look completely different from what you imagined.
That is part of learning.
When working on the wheel, beginners often use more water than necessary. Your instructor can show you how to keep the clay workable without making it overly soft.
A piece that is not ready for firing can develop problems. Let the studio determine when your work is ready for the next stage.
Consistency improves as you develop better control over your hands.
Wheel throwing can be difficult initially. Even experienced ceramic artists recognize that centering and pulling consistent walls require practice.
Instead of judging yourself by your first attempt, focus on one improvement each time you sit at the wheel.
Adult classes can range from one-time experiences to structured multi-week courses.
You might choose a short workshop if you simply want to try pottery, or a longer course if you want to develop reliable technical skills.
Children can explore clay through simple hand-building projects, textures, shapes, and decorations. The appropriate age and equipment requirements depend on the studio.
A pottery workshop can also be a memorable activity with friends, family, or a partner. You can spend a few hours creating something together rather than simply buying another gift or going to the same type of restaurant.
Once you have mastered the basics, you can explore:
Larger forms
Advanced wheel throwing
Complex handles and lids
Surface decoration
Glaze experimentation
Sculptural ceramics
Personal design styles
The goal eventually changes from simply making a pot to developing your own approach to pottery.
Yes. Many pottery classes are created specifically for people with no previous experience. Beginner programs commonly introduce hand-building, wheel throwing, glazing, and other fundamentals step by step.
You can learn the basic techniques in a few sessions, but becoming confident with clay takes regular practice. Wheel throwing, in particular, requires repetition before your movements become consistent.
Choose comfortable clothes that you do not mind getting dirty. You should also follow the studio’s recommendations regarding footwear and protective clothing.
Prices vary considerably. One-time workshops are generally structured differently from multi-week courses, and materials, glazing, firing, and studio access can affect the final cost.
Some do and some do not. Always check the class description carefully. For example, some studios explicitly include clay, tools, glaze, and firing, while others charge for clay separately.
Yes. Hand-building techniques such as pinch, coil, and slab construction allow you to create many different forms without a wheel.
Start with a class that clearly states it is beginner-friendly. A short hand-building workshop is a good introduction if you want a relaxed first experience, while a multi-week wheel course is better if you want to seriously learn wheel throwing.
There is no single perfect schedule. Weekly classes can give you a consistent opportunity to practice, while occasional workshops are suitable if you are exploring pottery as a hobby.
Learning pottery gives you something that many modern hobbies do not: you finish with an object that carries evidence of your own hands.
You may begin with a misshapen bowl or a slightly uneven mug. Over time, your hands become more confident, your forms become more deliberate, and your understanding of clay grows.
The right pottery classes can shorten that learning curve by giving you an instructor, equipment, materials, and a place to practice. You can start with hand-building, try the pottery wheel, experiment with glazing, and eventually develop your own style.
You do not need to wait until you feel creative enough or skilled enough. Choose a beginner-friendly pottery class, get your hands into the clay, and let your first imperfect piece be the beginning of something much better.