Meta description: Explore the complete pottery making process — from raw clay extraction to the final fired piece. Learn every stage of traditional and modern ceramic craftsmanship.
Few crafts capture the transformation of nature into art quite like pottery. The pottery making process is a fascinating journey that turns raw, shapeless clay into functional and decorative objects that can last for centuries. Understanding the stages of pottery making reveals the skill, patience, and artistry behind every ceramic piece — whether it’s a simple clay bowl or an intricately hand-painted vase.
In this article, we break down each step of the clay-to-ceramic journey, from earth to finished art.
Every piece of pottery begins with raw clay sourced directly from the earth. This natural material is typically dug from riverbanks, quarries, or clay-rich soil deposits.
Key steps in clay preparation include:
Proper preparation is essential, since poorly prepared clay can crack or explode during firing.
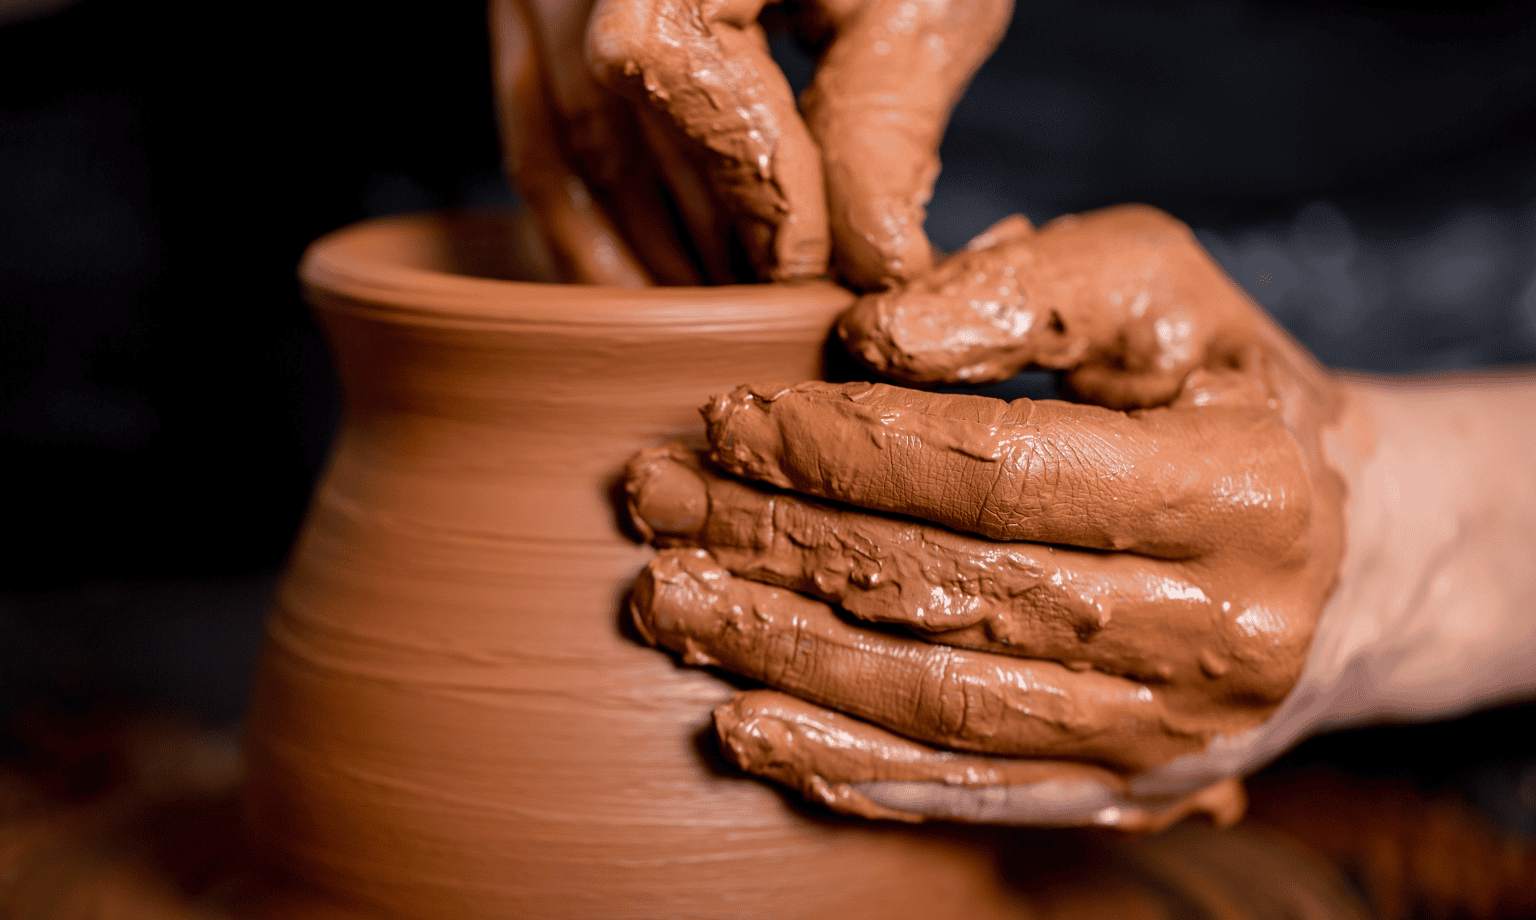
Once the clay reaches the right consistency, artisans begin shaping it into form. This is one of the most skill-intensive stages of ceramic craftsmanship, and there are several traditional shaping techniques:
Each technique requires years of practice to master, which is why skilled potters are often trained through long apprenticeships passed down through generations.
After shaping, the clay must dry gradually to prevent cracking. This stage happens in two phases:
Controlled, slow drying is critical in the pottery production process, as rapid drying can cause warping or cracks.
The first firing, known as bisque firing, hardens the clay into a durable, porous ceramic material. This is typically done in a kiln at temperatures between 900°C and 1,000°C (1,650°F–1,830°F).
Bisque firing serves several purposes:
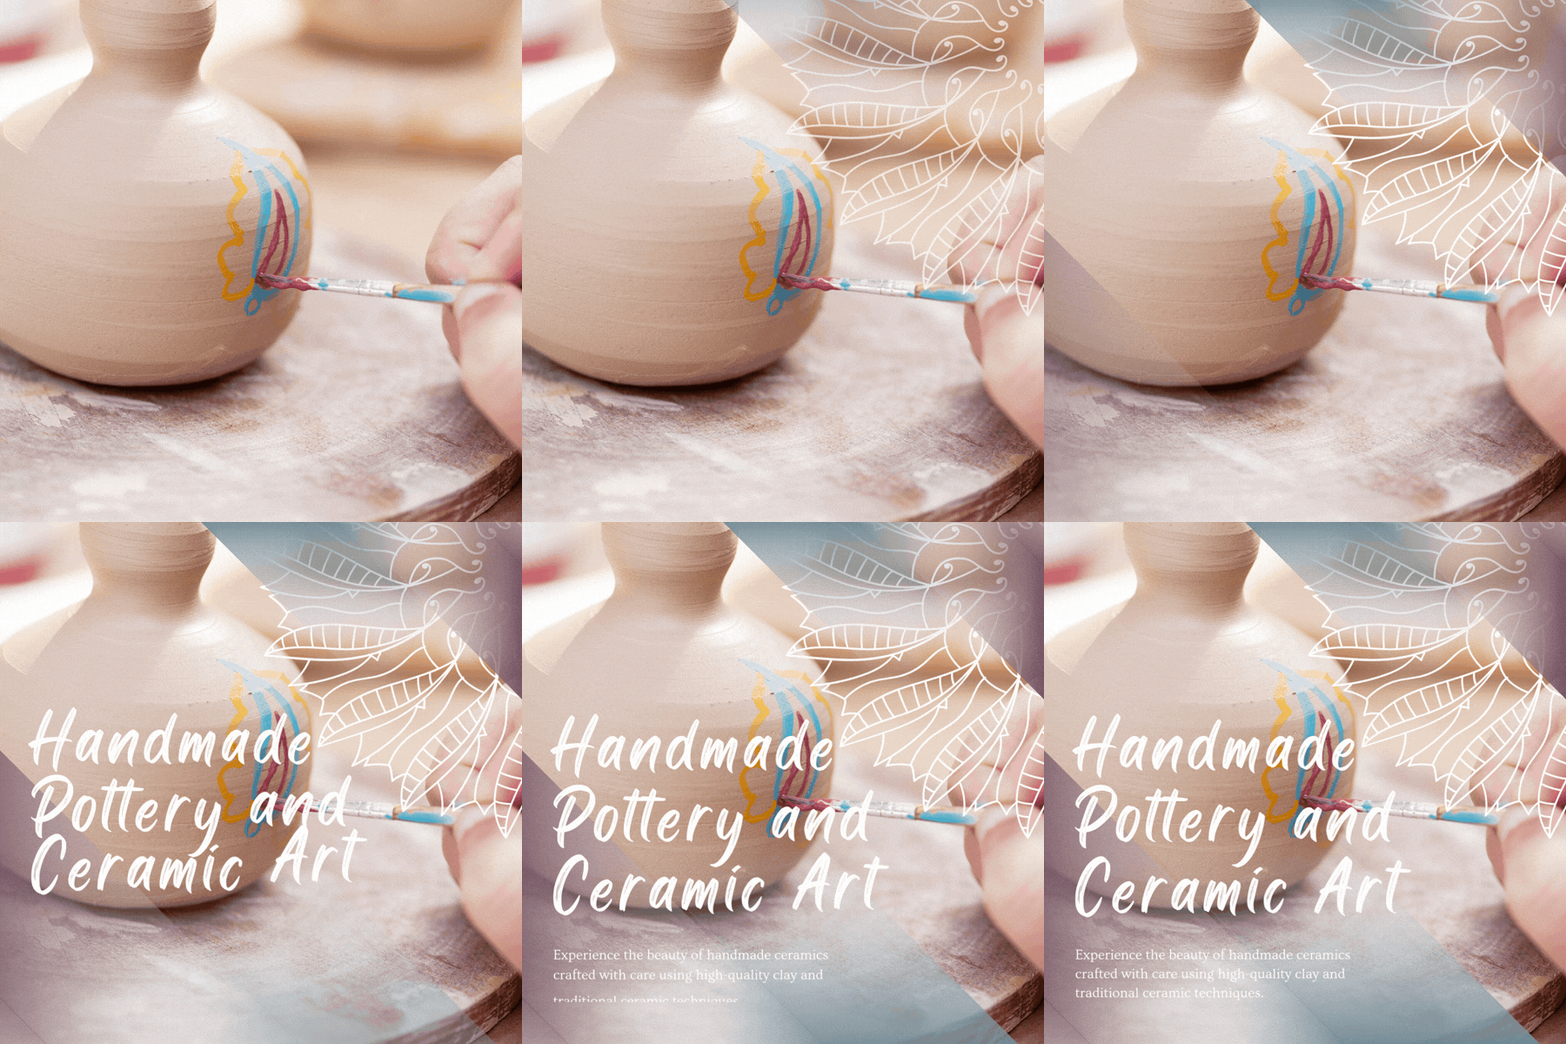
Glazing is where ceramic art truly comes to life with color, texture, and shine. A glaze is a liquid glass coating applied to the bisque-fired piece, which melts and hardens during the second firing to create a smooth, often glossy surface.
Common glazing techniques include:
Glazes can be transparent, matte, glossy, or richly pigmented — as seen in regional traditions like Morocco’s iconic green-glazed Safi pottery.
The final and most critical stage is the glaze firing, conducted at much higher temperatures — often between 1,200°C and 1,300°C (2,190°F–2,370°F), depending on the clay body and glaze type.
During this firing:
This stage transforms a fragile bisque piece into a finished, functional work of ceramic art.
After firing, artisans inspect each piece for imperfections, cracks, or glaze defects. Additional finishing steps may include:
Only pieces that pass inspection are considered ready for sale or export.
Learning the stages of pottery making highlights why handmade ceramics are valued so highly. Each piece represents hours — sometimes days — of labor, skill, and artistic judgment. Unlike mass-produced items, traditional pottery carries the imprint of human craftsmanship at every stage, from the first touch of raw clay to the final glaze firing.
The journey of clay from earth to art is a remarkable process rooted in both science and creativity. From clay extraction and shaping to bisque firing, glazing, and the final glaze firing, every stage of pottery making requires precision and patience. Understanding this process deepens our appreciation for ceramic artisans and the timeless craft they continue to preserve today.